


If your in-game character is moving when you’re not touching the left stick, or your aiming is slow or limited in one or more directions, you could well be suffering from something called ‘stick drift’ or just ‘drifting’. This is when something’s gone coco in your controller’s analogue stick, and it’s not functioning like the reliable potentiometer that it should be.
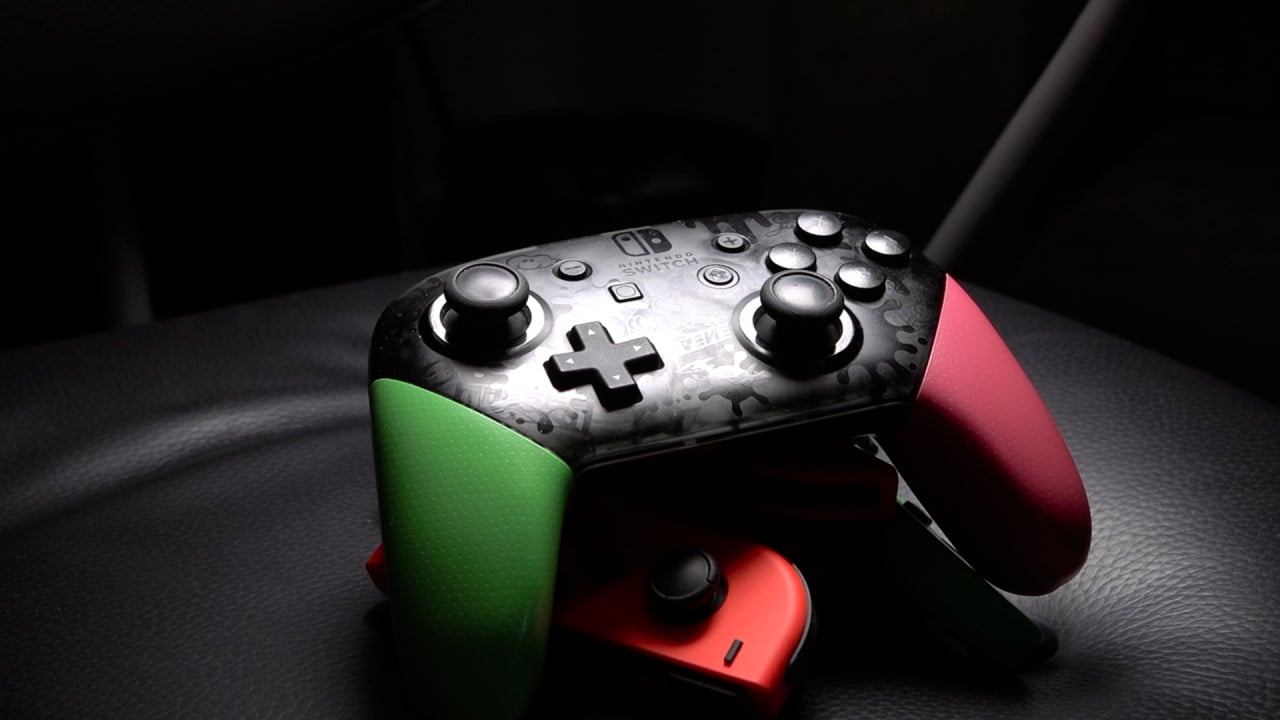
Drifting is a problem that is undeniably common in the Switch’s Joy-Con, but it can also affect Pro Controllers as well. That’s not to say Nintendo’s products are cheap or shoddy universally; drift is an issue that can affect any controller on the market – even the mighty Xbox One Elite Controller isn’t safe. We already have a guide up on how to fix drifting Joy-Con if you need it, but the same rules don’t completely apply to the Pro Controller.
Although the steps detailed below are simple and not tremendously challenging, we do have to state that you follow this guide at your own risk, we cannot take responsibility for any whoopsies that may occur.
Guide: How To Fix A Drifting Nintendo Switch Pro Controller
Calibrating
First things first, and we know this may seem obvious to some, but it’s only obvious if you know. You want to go into your Switch’s settings menu and recalibrate the offending stick – it’s usually the left stick but we aren’t here to judge.
Go to the Home Menu, navigate down to System Settings, scroll all the way down to the bottom of the left menu and select Controllers and Sensors.
Scroll down on the right hand part of the screen and select Calibrate Control Sticks because we’re planning to do just that. A little popup menu will let you know that any button mapping changes you may have made will be temporarily disabled; just select OK.
You’ll then need to click in the stick that’s been drifting. You’ll then be presented with a screen that shows how the console interprets the stick movement; rotate the stick on its axis, flick it around, generally get a feel for how it’s behaving.
Also be sure to leave it alone for a time. If the crosshair moves without you doing anything (however little), if you’re unable to make a clean, smooth 360º rotation, or if it doesn’t even want to move all the way to the edge in some areas, you’ve got a problem. Thankfully you’re in the right place to sort it out.
Press the X button to enter calibration and follow the onscreen instructions as best as you can. Once that’s complete run through the same tests we mentioned earlier like flicking the stick and rotating it. If the issue no longer presents itself you’re one of the mega lucky ones, and you don’t need to do anything more. If you’re still seeing problems however, you’re going to need to get a bit more technical.
Cleaning the Stick
If you’re still stuck in a drifting pickle, you’ll need to get a few supplies, namely these:
- Small Phillips Head Screwdriver (long-necked)
- Compressed Air
- Contact Cleaner
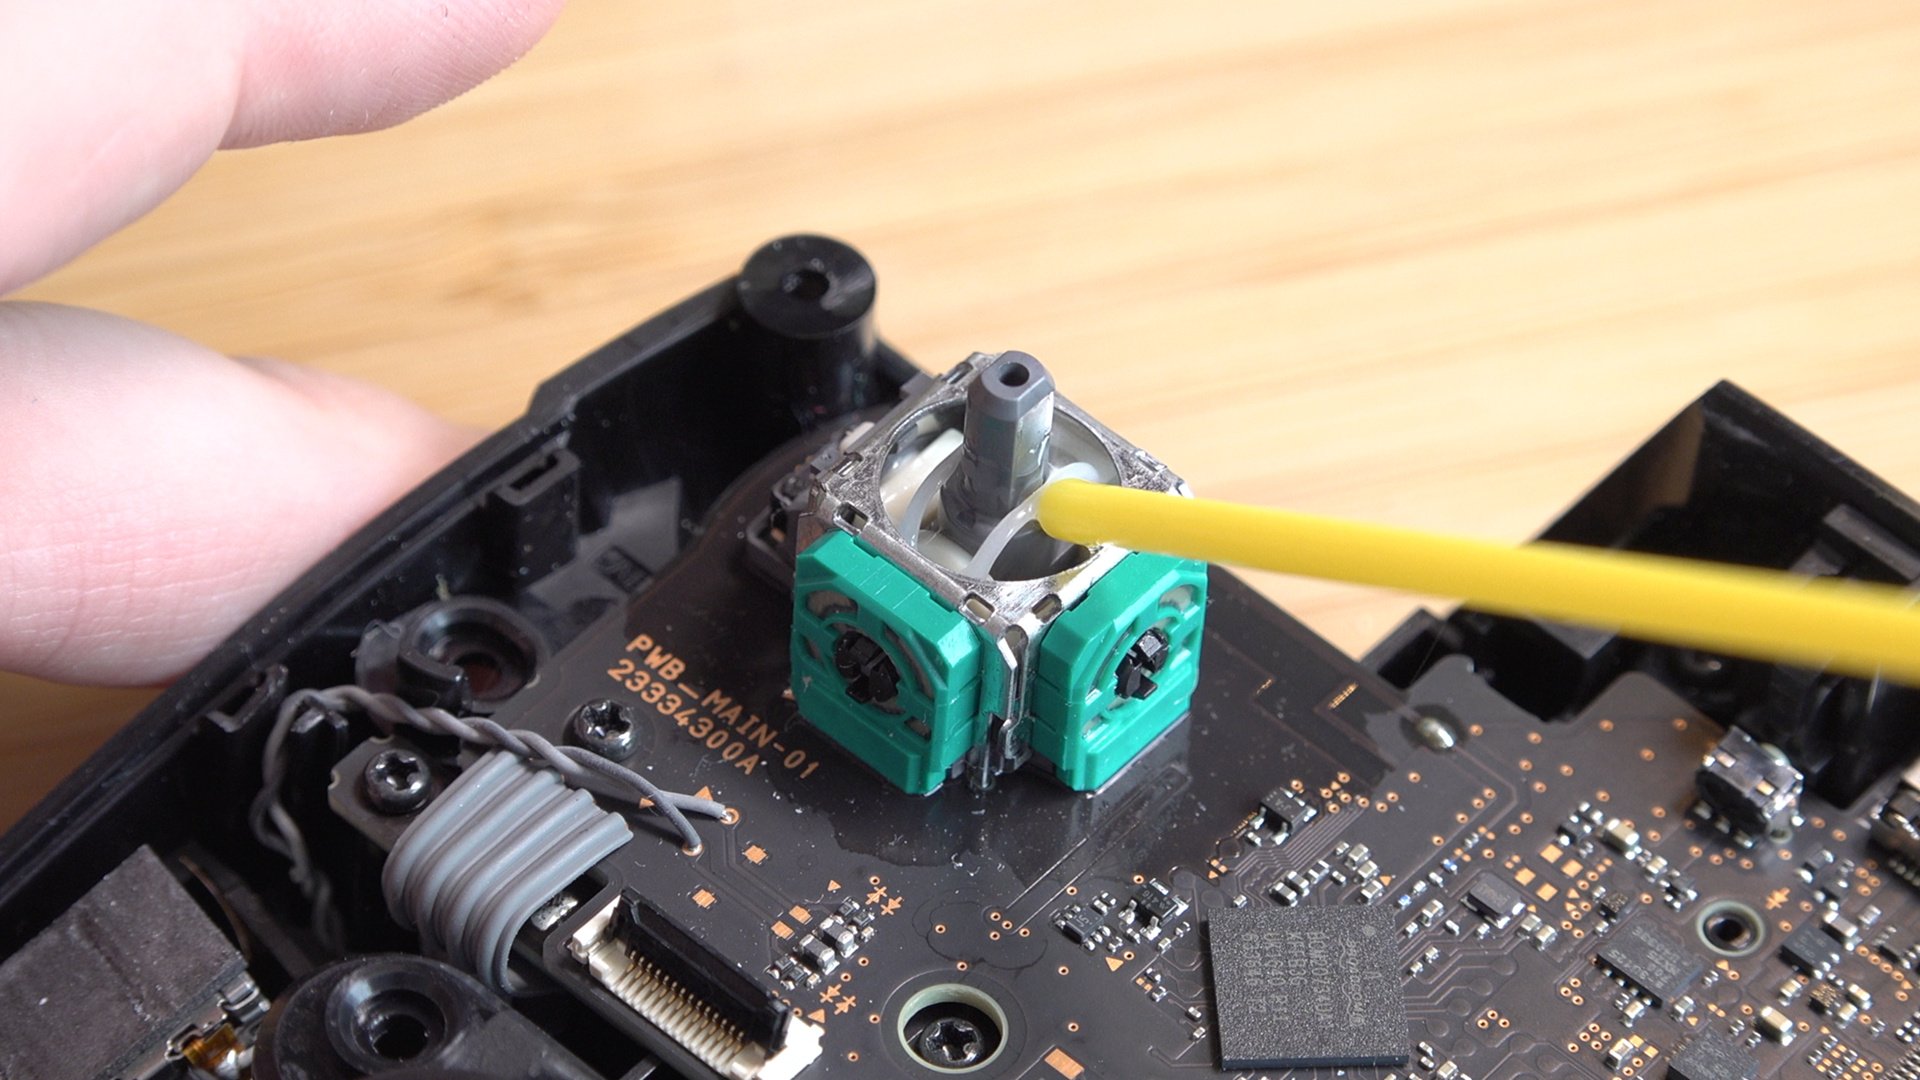
You’ll need to disassemble the Pro Controller to a degree in order to effectively clean it, as unlike the Joy-Con there’s no rubber skirt you can pull up to access the stick’s internals. Don’t worry, if you click this link it will take you right to the part of our handy guide video that should help you out if you’re not sure what to do or where, but it’s a fairly simple procedure as long as you pay attention to which screws come from where, and make sure you don’t lose any. Seriously.
Once it’s open you’ll be able to access the problem stick’s internal gubbins and have a proper look at what’s going on. In all likelihood you’re going to see dust, debris, hair, the usual suspects for why precise electronics aren’t cutting the proverbial mustard. Grab your handy can of compressed air and blast these intrusive bits of rubbish out of your precious equipment. Make sure you follow the instructions on the can of compressed air that you have, as some contain a liquid that may potentially damage your controller. Follow the instructions, and don’t go being a silly sausage now you hear?
Once you’ve got out as much as you can, it’s time to whack out that contact cleaner. Spray the area underneath the plastic stick cap generously but carefully; you want to coat it but not drown it. Give the stick a general wiggle to make sure the cleaner gets in and around everywhere it needs to, and don’t be afraid if it feels like the stick is catching in places, that’s just because the faceplate of the controller usually stops it from moving this far. Be gentle, but be firm.
Wait for a few minutes and repeat the process, feeling free to apply and rotate at the same time if you like, as long as you don’t put too much on as we said before. You can repeat the process again if you like, but it likely isn’t necessary.
Once you’ve applied the final dousing of cleaning, wait a good ten minutes with the controller in a well-ventilated area to make sure it’s all lovely and dry in there before putting it back together.
Now put it back together.
Return to the Stick Calibration screen and test out your newly cleaned stick. Still not working perfectly? Don’t worry, a quick recalibration just like before should solve any woes that may befall you.
Once you’ve completed that you should now have a fully-working Pro Controller again, unless there was something else wrong with it like the A button had melted. Hooray!
Still not Working?
It’s possible to replace the analogue sticks in a Pro Controller, but we’re not really happy to recommend that; the sticks are soldered in place which may seem trivial to some, but there’s too much that can go wrong with a soldering iron for us to feel comfortable taking you through that, nor the process of ordering replacement sticks.
In that case your only other option is to get in touch with Nintendo directly and discuss repairing the controller with them. It’s possible you may be charged for a repair depending on various circumstances, so be prepared to cough up a bit to get back on the Pro Controller train.
Has this guide helped at all? Let us know in the comments below.
https://www.sickgaming.net/blog/2020/07/...ontroller/