My Hero Academia's All Might Adorns NZXT's Newest PC Case
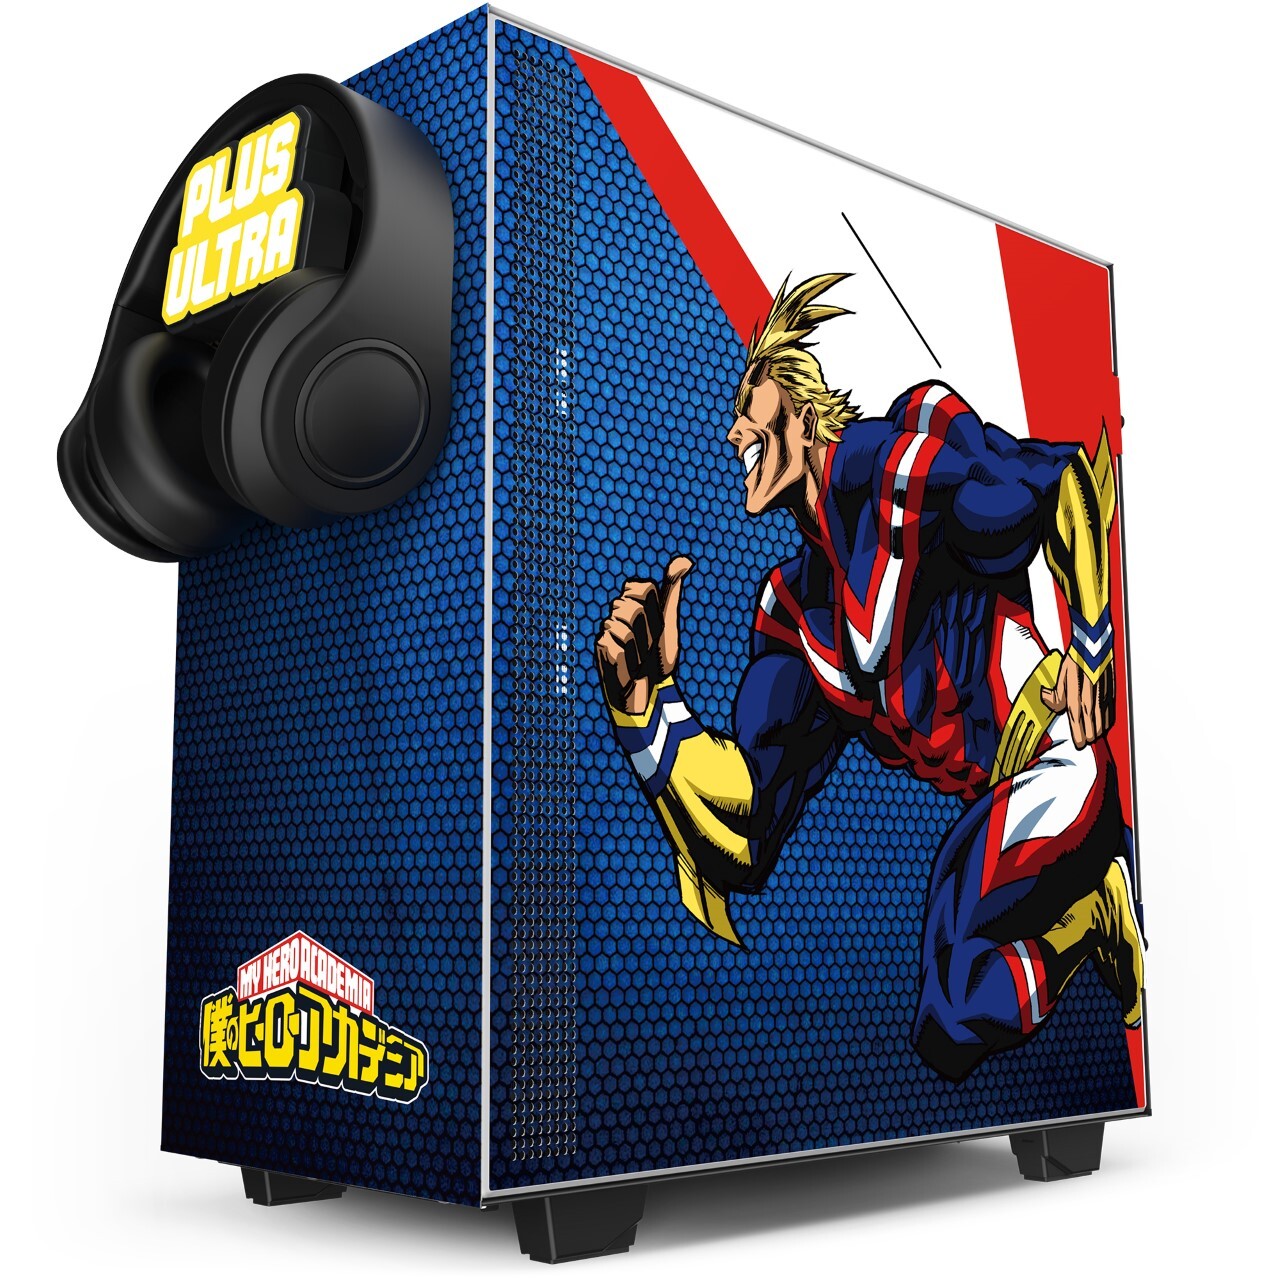
NZXT has announced a new CRFT 10 H510i PC case that is themed around My Hero Academia, the popular superhero shonen manga and anime. The case depicts Toshinori Yagi, aka All Might, in both his empowered and true forms.
The case is available right now, with only a limited quantity available. It costs $250 USD.
As detailed in a press release, the CRFT 10 H510i All Might features a "Plus Ultra" puck is attached to the outside for you to hang your headphones from, and an All Might charm decorates the outside of the case. All Might in his empowered form adorns the outside of the case, while his true form is on the inside, allowing you to hide away the superhero's secret.